


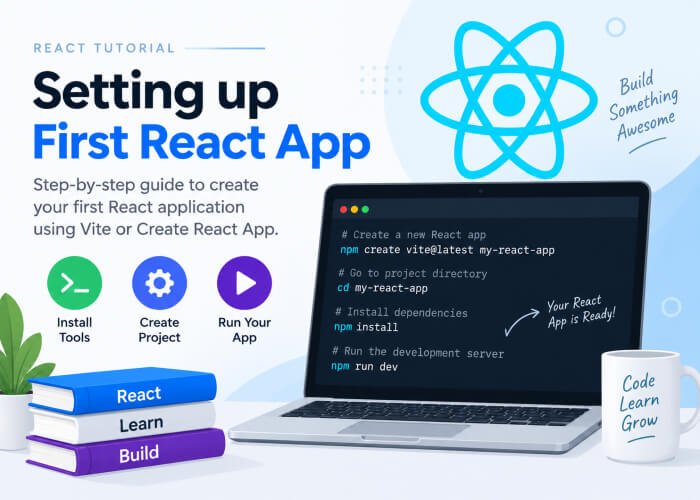
Setting Up Your First React App
If you’ve read our introduction to React, you already know why React is worth learning. Now it’s time to get your hands dirty and actually build something. Before you can write a single line of JSX, though, you need a working React environment on your machine.
In this post, we’ll walk through two popular ways to set up a React project — Vite (the modern, recommended approach) and Create React App (the older, still-common approach) — and explain what actually happens under the hood when you run these commands.
Prerequisites
Before setting up React, make sure you have the following installed:
- Node.js (version 18 or above is recommended)
- npm (comes bundled with Node.js) or yarn / pnpm as an alternative package manager
- A code editor — VS Code is the most popular choice for React development
- Basic familiarity with the terminal/command line
To check if Node.js and npm are already installed, open your terminal and run:
node -vnpm -v
If you see version numbers printed out, you’re good to go. If not, head over to nodejs.org and install the LTS version.
Option 1: Creating a React App with Vite (Recommended)
Vite has become the go-to tool for starting new React projects because it’s significantly faster than older tools, thanks to how it handles module bundling and dev server startup.
Step 1: Run the Vite setup command
npm create vite@latest my-react-app -- --template reactHere’s what this does:
npm create vite@latestfetches the latest Vite project scaffolding toolmy-react-appis the name of your project folder — you can rename this to whatever you like--template reacttells Vite to set up a plain React project (as opposed to Vue, Svelte, etc.)
Step 2: Navigate into your project folder
cd my-react-appStep 3: Install dependencies
npm installThis reads the package.json file and downloads all the required packages into a node_modules folder.
Step 4: Start the development server
npm run devYou’ll see an output similar to this:
  VITE v5.x.x  ready in 300 ms

  ➜  Local:   http://localhost:5173/
  ➜  Network: use --host to expose
Open http://localhost:5173/ in your browser, and you should see the default React + Vite welcome page.
Option 2: Creating a React App with Create React App (CRA)
Create React App was, for years, the official recommended way to bootstrap a React project. It’s slower to set up and start compared to Vite, but you’ll still encounter it in many tutorials, older codebases, and job environments.
Step 1: Run the CRA command
npx create-react-app my-cra-appnpxruns a package without permanently installing it globallycreate-react-appis the scaffolding toolmy-cra-appis your project name
Step 2: Navigate into the folder and start the server
cd my-cra-app
npm start
This will automatically open http://localhost:3000/ in your browser.
Note: As of recent years, the official React documentation no longer recommends Create React App for new projects, favoring frameworks like Vite, Next.js, or Remix instead. We’re covering it here because you’ll still see it referenced widely, but for your own new projects, Vite is the better choice.
Understanding the Project Structure
Whichever tool you use, your folder structure will look roughly like this:
my-react-app/
├── node_modules/
├── public/
│   └── index.html (or vite.svg for Vite)
├── src/
│   ├── App.jsx
│   ├── main.jsx (or index.js for CRA)
│   └── assets/
├── package.json
├── package-lock.json
└── vite.config.js (Vite only)
Let’s break down the important files:
| File/Folder | Purpose |
|---|---|
src/main.jsx | The entry point — this is where React “mounts” your app onto the HTML page |
src/App.jsx | The root component of your application |
public/ | Static assets that don’t get processed by the build tool |
package.json | Lists your project’s dependencies and scripts |
vite.config.js | Configuration file for Vite (bundler settings, plugins, etc.) |
A Quick Look at the Entry Point
Open src/main.jsx (Vite) and you’ll see something like this:
import React from 'react'
import ReactDOM from 'react-dom/client'
import App from './App.jsx'

ReactDOM.createRoot(document.getElementById('root')).render(
  <React.StrictMode>
    <App />
  </React.StrictMode>,
)
Here’s what’s happening line by line:
ReactDOM.createRoot(...)tells React which DOM element to take control of — in this case, an element withid="root"found in yourindex.html..render(<App />)renders your root component (App) inside that DOM element.<React.StrictMode>is a development-only wrapper that helps catch potential bugs and warns about deprecated patterns. It doesn’t affect your production build.
Making Your First Edit
Open src/App.jsx and replace its content with:
function App() {
  return (
    <div>
      <h1>Hello, React!</h1>
      <p>This is my first custom edit.</p>
    </div>
  )
}

export default App
Save the file. If your dev server is running, the browser will automatically refresh and show your changes instantly — this is called Hot Module Replacement (HMR), one of the biggest productivity boosts React tooling provides.
Common Setup Mistakes to Avoid
- Using an outdated Node.js version — Always check that you’re on Node 18+ to avoid compatibility issues with newer packages.
- Editing files inside
node_modules— Never do this. Any changes will be lost, and it can break your dependency tree. - Forgetting to run
npm install— If you clone a React project from GitHub, you must runnpm installbeforenpm run devornpm start, sincenode_modulesisn’t included in repositories. - Mixing package managers — Stick to one package manager (npm, yarn, or pnpm) per project. Switching between them can cause dependency conflicts.
Recap
In this post, you learned:
- How to set up a React project using Vite (recommended) and Create React App (legacy)
- The purpose of key files like
main.jsx,App.jsx, andpackage.json - How React mounts your app onto the DOM
- How to make your first edit and see it reflected instantly using Hot Module Replacement
With your environment ready, you’re all set to dive into the real building blocks of React. In the next post, we’ll explore JSX — the syntax that lets you write HTML-like code directly inside JavaScript, and understand exactly how it works under the hood.
