







Handling Events in React
Over the last two posts, you learned how components hold data through props and state. But data alone doesn’t make an app interactive — you also need a way to respond when users click buttons, type into inputs, submit forms, or hover over elements. That’s where event handling comes in.
React’s event system looks a lot like standard JavaScript DOM events, but with some important differences that make it more consistent and predictable. Let’s dig in.
Basic Event Handling Syntax
In plain HTML/JavaScript, you might attach an event like this:
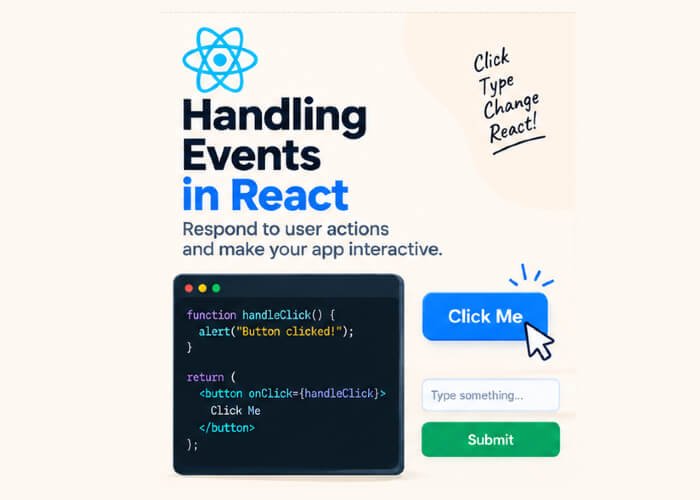
<button onclick="handleClick()">Click Me</button>In React, event names are written in camelCase, and you pass a function reference (not a string) inside curly braces:
function App() {
  const handleClick = () => {
    console.log("Button clicked!")
  }

  return <button onClick={handleClick}>Click Me</button>
}
Notice two key differences from plain HTML:
onclickbecomesonClick(camelCase)- The function is passed as a reference (
handleClick), not called immediately (handleClick())
A Common Mistake: Calling the Function Immediately
This is one of the most frequent mistakes beginners make:
<button onClick={handleClick()}>Click Me</button> // ❌ WrongThis actually calls handleClick immediately when the component renders, rather than waiting for a click. The button ends up with no click handler at all, and handleClick()‘s return value (often undefined) is what gets assigned to onClick.
The correct way is to either pass the function reference directly:
<button onClick={handleClick}>Click Me</button> // ✅ CorrectOr wrap it in an inline arrow function if you need to pass arguments:
<button onClick={() => handleClick(id)}>Click Me</button> // ✅ CorrectPassing Arguments to Event Handlers
Often, you’ll need to pass extra information to your event handler — like an item’s ID in a list.
function ItemList() {
  const items = ["Apple", "Banana", "Mango"]

  const handleDelete = (item) => {
    console.log(`Deleting ${item}`)
  }

  return (
    <ul>
      {items.map((item, index) => (
        <li key={index}>
          {item}
          <button onClick={() => handleDelete(item)}>Delete</button>
        </li>
      ))}
    </ul>
  )
}
Wrapping the call in an arrow function (() => handleDelete(item)) ensures handleDelete only runs when the button is actually clicked, with the correct item value captured for that specific list entry.
The Synthetic Event Object
Just like in vanilla JavaScript, React passes an event object to your handler automatically. React wraps the native browser event in something called a SyntheticEvent — a cross-browser wrapper that behaves consistently no matter which browser your app runs in.
function InputBox() {
  const handleChange = (event) => {
    console.log(event.target.value)
  }

  return <input type="text" onChange={handleChange} />
}
Here, event.target.value gives you the current value of the input field as the user types. Most of the properties and methods you’re used to from native DOM events — event.target, event.preventDefault(), event.stopPropagation() — work exactly the same way with SyntheticEvents.
Handling Form Submissions
Forms are one of the most common places you’ll use event handling. By default, submitting an HTML form causes a full page reload — which is almost never what you want in a React app. You prevent this using event.preventDefault().
import { useState } from 'react'

function LoginForm() {
  const [email, setEmail] = useState("")

  const handleSubmit = (event) => {
    event.preventDefault()
    console.log(`Submitting email: ${email}`)
  }

  return (
    <form onSubmit={handleSubmit}>
      <input
        type="email"
        value={email}
        onChange={(e) => setEmail(e.target.value)}
        placeholder="Enter your email"
      />
      <button type="submit">Login</button>
    </form>
  )
}
Calling event.preventDefault() stops the browser’s default form-submission behavior, letting you handle the data entirely through JavaScript/React instead — which is essential for building single-page applications.
Commonly Used Events in React
| Event | Triggered When | Example Use Case |
|---|---|---|
onClick | An element is clicked | Buttons, links, cards |
onChange | An input’s value changes | Text fields, checkboxes, dropdowns |
onSubmit | A form is submitted | Login forms, search bars |
onMouseEnter / onMouseLeave | Mouse hovers in/out of an element | Tooltips, dropdown menus |
onKeyDown / onKeyUp | A keyboard key is pressed | Search-as-you-type, keyboard shortcuts |
onFocus / onBlur | An element gains/loses focus | Form validation, input styling |
Handling Keyboard Events
Here’s a practical example that triggers an action when the user presses the Enter key:
function SearchBox() {
  const [query, setQuery] = useState("")

  const handleKeyDown = (event) => {
    if (event.key === "Enter") {
      console.log(`Searching for: ${query}`)
    }
  }

  return (
    <input
      type="text"
      value={query}
      onChange={(e) => setQuery(e.target.value)}
      onKeyDown={handleKeyDown}
      placeholder="Search..."
    />
  )
}
Stopping Event Propagation
Sometimes you have nested elements that both listen for the same event, and you want to prevent a click on a child from also triggering the parent’s handler. This is called event propagation (or “bubbling”), and you can stop it using event.stopPropagation().
function Card() {
  const handleCardClick = () => {
    console.log("Card clicked")
  }

  const handleButtonClick = (event) => {
    event.stopPropagation()
    console.log("Button clicked")
  }

  return (
    <div onClick={handleCardClick} style={{ padding: "20px", border: "1px solid #ccc" }}>
      <p>Click anywhere on this card</p>
      <button onClick={handleButtonClick}>Click just this button</button>
    </div>
  )
}
Without stopPropagation(), clicking the button would trigger both handleButtonClick and handleCardClick, since the click event “bubbles up” from the button to its parent div.
Organizing Event Handlers Cleanly
As components grow, it’s good practice to define event handlers as named functions above your return statement rather than writing complex inline logic directly in JSX:
Less ideal (inline logic gets messy):
<button onClick={() => {
  setCount(count + 1)
  console.log("Incremented")
  localStorage.setItem("count", count + 1)
}}>
  Increment
</button>
Better (extracted into a named function):
const handleIncrement = () => {
  setCount(count + 1)
  console.log("Incremented")
  localStorage.setItem("count", count + 1)
}

// ...

<button onClick={handleIncrement}>Increment</button>
This keeps your JSX readable and makes the logic easier to test and reuse.
Common Mistakes Beginners Make
- Calling the function instead of passing a reference, e.g.,
onClick={handleClick()}instead ofonClick={handleClick}. - Forgetting
event.preventDefault()in form submissions, causing unwanted page reloads. - Not wrapping handlers that need arguments in an arrow function, causing them to fire immediately on render.
- Confusing
onChangebehavior — in React,onChangefires on every keystroke (likeoninputin vanilla JS), not just when focus is lost. - Overusing
stopPropagation()without understanding why an event is bubbling in the first place, which can hide bugs rather than fix them.
Recap
In this post, you learned:
- How to attach event handlers in React using camelCase syntax
- The difference between passing a function reference and accidentally calling it
- How to pass custom arguments to event handlers
- What SyntheticEvents are and how they normalize events across browsers
- How to handle form submissions properly using
event.preventDefault() - How to stop event bubbling with
event.stopPropagation()
Now that your components can respond to user interactions, the next challenge is deciding what to render based on different conditions — like showing a loading spinner, an error message, or a logged-in vs. logged-out view. That’s exactly what we’ll cover in the next post on Conditional Rendering.


1 Comment
Pingback: State in React-Managing Component Data - Developers Ground